Unsere Safari-Fototipps stammen aus einem Jahrzehnt des Fotografierens von Wildtieren
Nachdem ich einen beträchtlichen Teil unserer Reisen in Jeeps auf Pirschfahrten verbracht habe, ist es mir im Laufe der Jahre gelungen, einige schöne und seltene Wildtiere zu fotografieren. Unterwegs habe ich einige unverzichtbare Tipps für die Safari-Fotografie gesammelt, sei es durch Ausprobieren, durch Gespräche mit erfahrenen Rangern oder einfach nur durch den Vergleich von Fotos mit anderen Enthusiasten.
Hier sind einige wichtige Tipps für die Safari-Fotografie, die Ihnen helfen, das Beste aus Ihrem Naturerlebnis herauszuholen.
Gang
Zoomobjektiv
Das Wichtigste, was Sie brauchen, ist ein anständiges Teleobjektiv. Das Nikkor 18–300 mm, das All-in-One-Zoomobjektiv von Nikon, ist ein äußerst vielseitiges Teil des Kits, das fast alle Situationen abdeckt, von breiteren Landschaftsaufnahmen bis hin zu Tieraufnahmen aus großer Entfernung. Das Objektiv ist leicht, lichtstark und liefert in jeder Umgebung eine konstant außergewöhnliche Leistung.
Um einen zu häufigen Objektivwechsel zu vermeiden, gilt: Je größer der Zoombereich, desto besser – Safaris sind meist eine staubige Angelegenheit!
Atlas & Boots Wilde Tiere sind selten so entgegenkommend, investieren Sie also in ein Zoomobjektiv
Filter
Es dauerte nicht lange, bis ich herausfand, dass ein Landschaftsfotograf in erster Linie einen Glas-Polarisationsfilter benötigt, um Reflexionen von Wasser und Glas zu reduzieren sowie den blauen Himmel dunkler und Wolken klarer zu machen.
Ich habe auch ein Tiffen-Filterkit für neutrale Dichte (ND). ND-Filter sind im Wesentlichen grau getönte Filter, die Licht absorbieren, wenn es durch das Objektiv fällt, sodass Sie bei helleren Bedingungen mit breiteren Blendenstufen fotografieren können.
Sitzsack
[If you are taking a large lens (and you really should be), a camera beanbag will help support your lens. Take it empty and fill it with rice or beans when you arrive. You’ll struggle to fit a tripod in the back of a jeep so this is the next best thing.Memory Cards
I invested in some high-quality, high-capacity Transcend SD cards to ensure I never lose any photography. Transcend’s SD and micro SD cards are tested to withstand extreme conditions. They are temperature resistant, waterproof, shock proof, X-ray proof, and static proof – ideal for an outdoor travel blogger.
Backing up
Back up your photography at the end of every day. I copy all my photographs across to my laptop, then back up to a portable Transcend Storejet 4TB. Finally, I back up again to a cloud service such as Dropbox or Google Drive whenever I get wifi access.
 Atlas & Boots By the end of the day, my photographs are ideally backed up in three places
Batteries and power banks
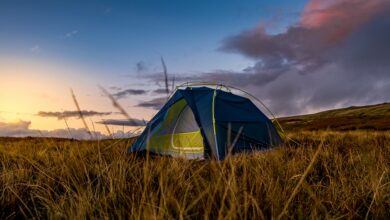
Pack at least one reserve battery along with a power bank and/or solar charger for charging in emergencies.
Settings
Use P Mode (program)
Many prefer using A/Av (aperture priority) mode, but with safari and wildlife photography you’ll want to have control of the shutter speed as well. Program mode is recommended for snapshots and situations where there is little time to adjust camera settings. The camera sets shutter speed and aperture for optimal exposure, but you can still adjust both dials to suit your shot.
 Atlas & Boots Program mode is ideal for situations where there is little time to adjust settings
ISO
Unless you have decades of experience it’s unlikely you’ll be able to out-think a modern DSLR camera’s ISO settings, especially as you’ll be shifting between shutter speeds taking wide shots, close ups and action shots. Let the camera do this one for you.
White balance
Setting the white balance to automatic will result in bland images as the camera will try to reduce everything to mid-grey. Use the relevant setting on your camera (i.e. daylight, cloudy, shade). Additionally, you should consider shooting in RAW and editing your photography’s white balance in post processing software such as Photoshop.
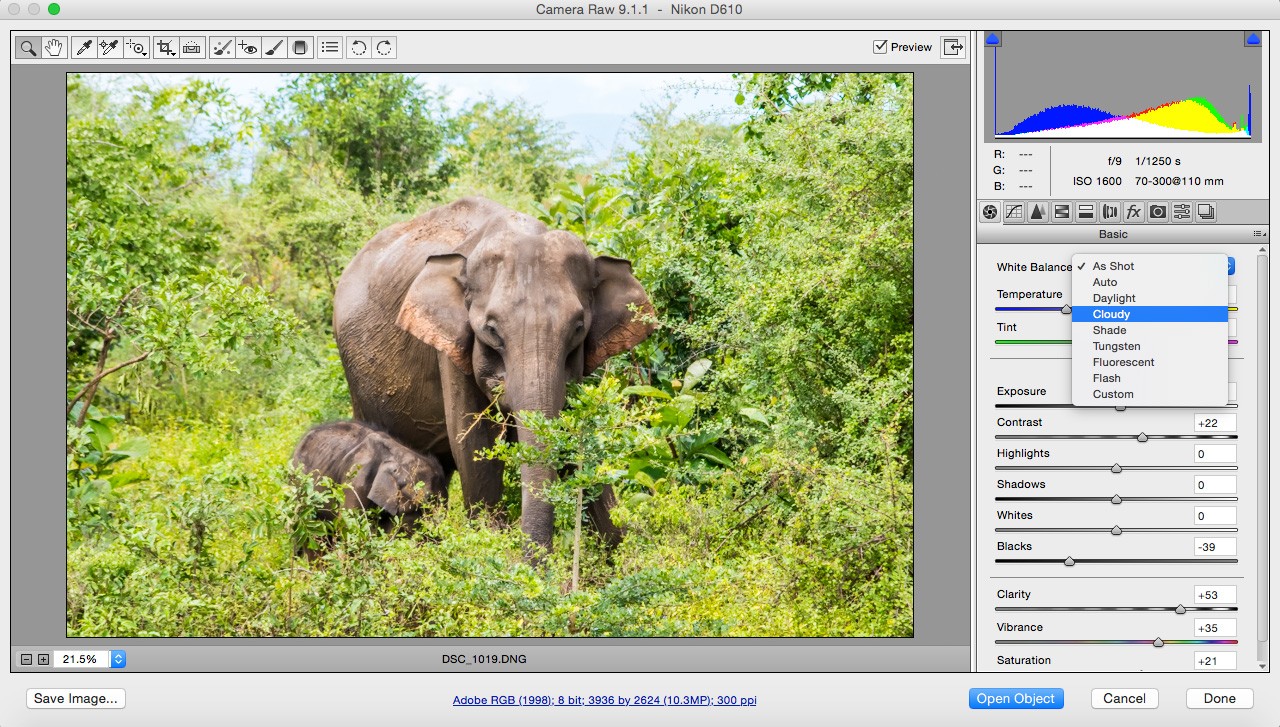 Atlas & Boots Editing white balance during post processing
Flash off
Just turn it off. Even in low light, just turn it off. You’ll achieve far more natural results without it and using it will startle wildlife and annoy your fellow safari goers. Using a flash will also reduce deep shadows created by the midday sun.
Composition
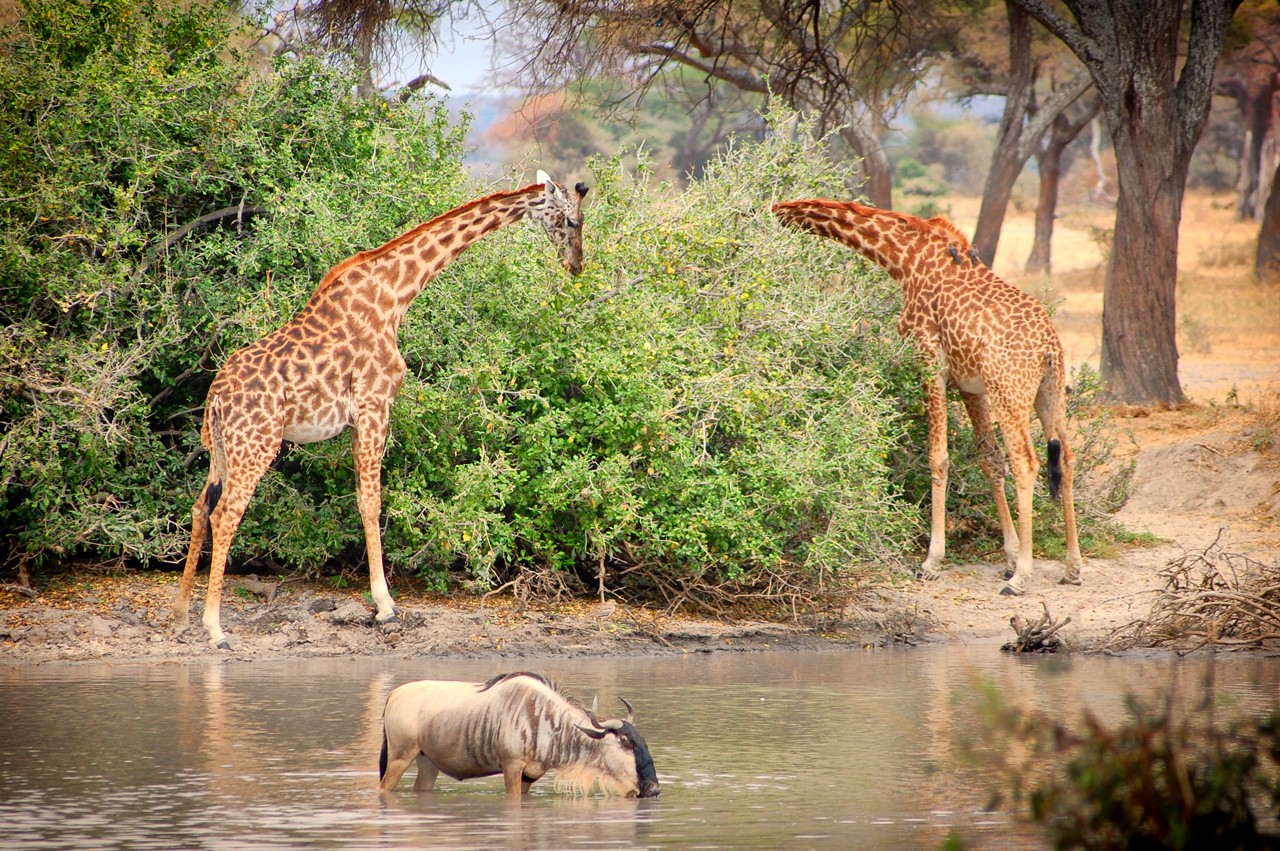
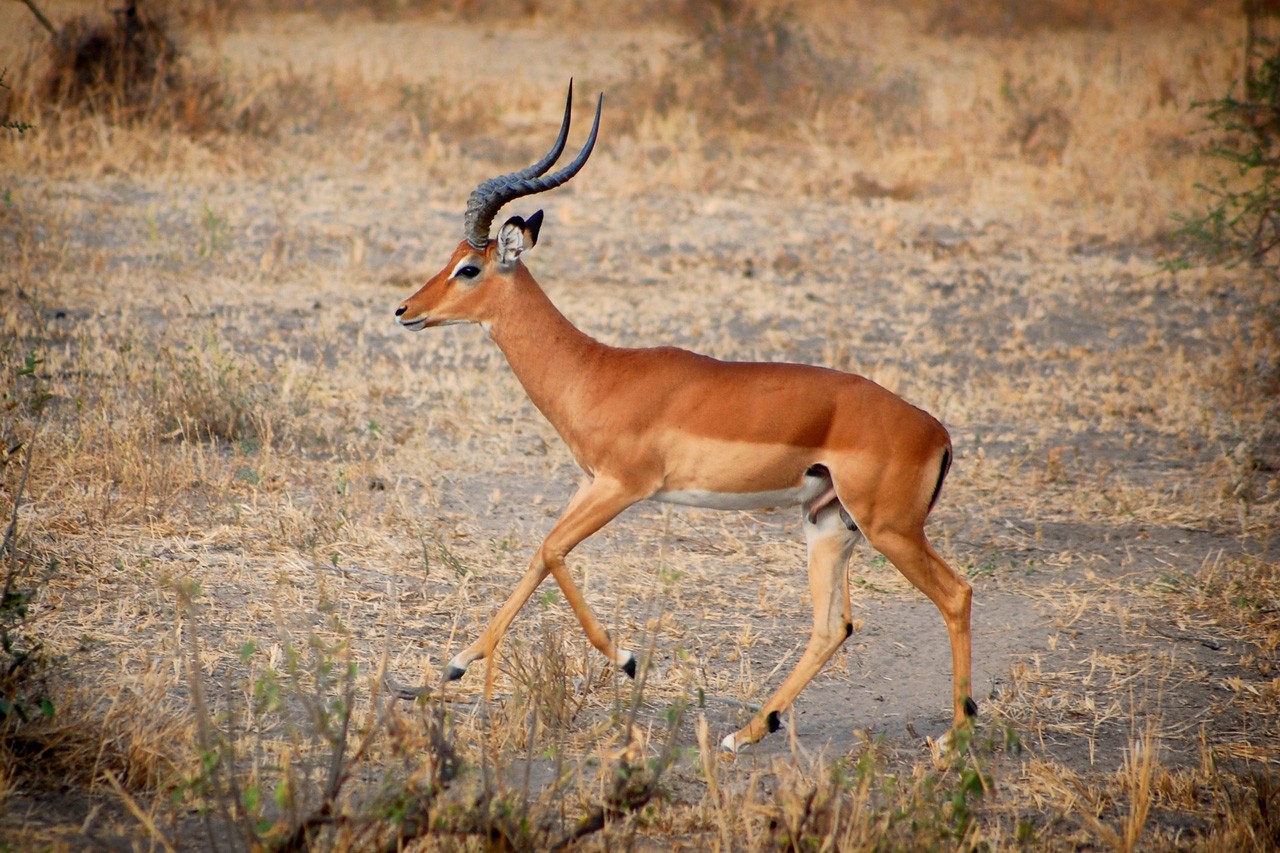
Focus on the eyes
I’m no portrait photographer but just like with people, we connect with animals through their eyes so try to focus there. Just be aware that many animals on safari have unusual features such as long necks, snouts and trunks, so you may need to play with your focal length to pinpoint the eyes.
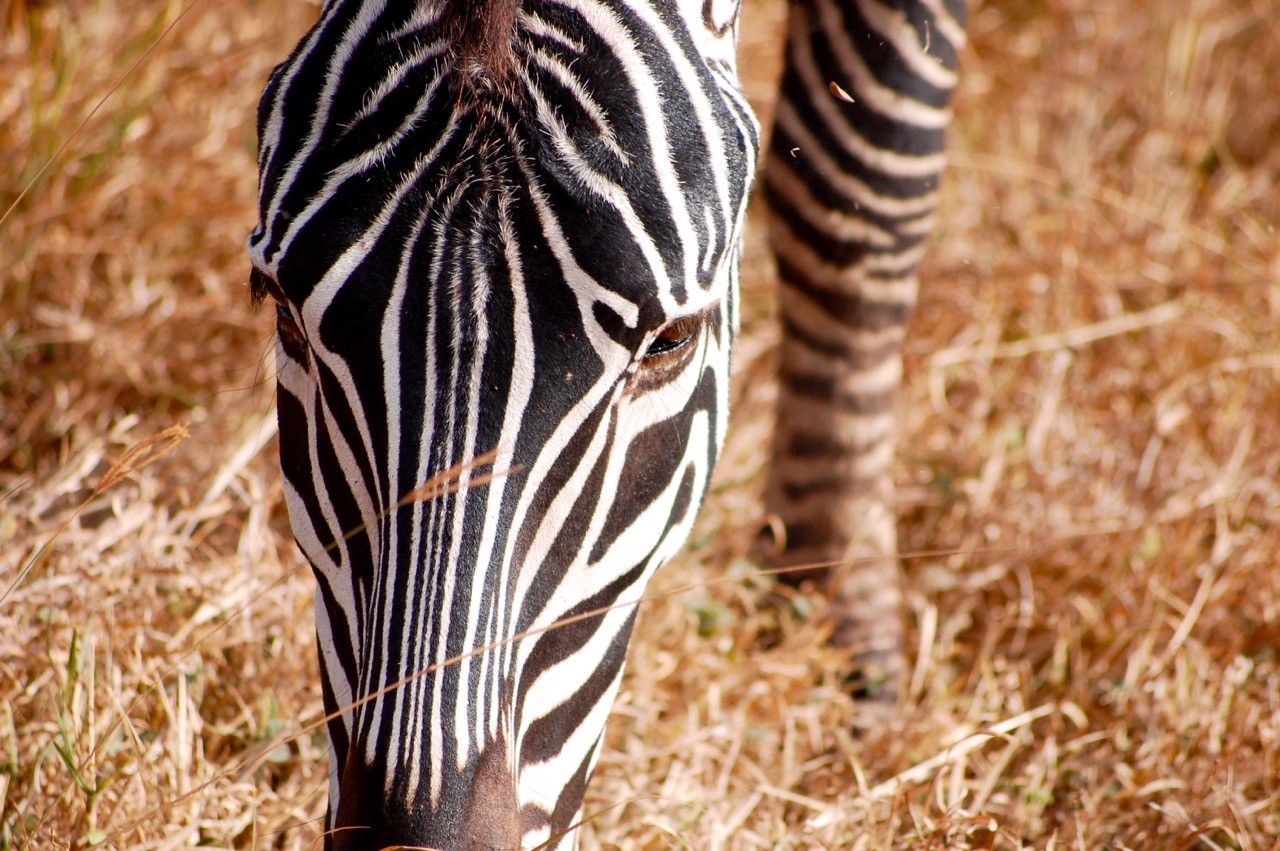 Atlas & Boots We connect with animals through their eyes
Rule of thirds
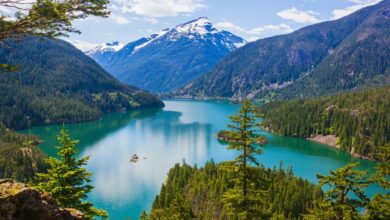
In its basic form, split the shot into thirds vertically and horizontally, and try to divide up the shot. This is particularly useful with wider shots of horizons. Also, think about where the ‘action’ in a shot will be unfolding. On the intersection of two points is usually a good place.
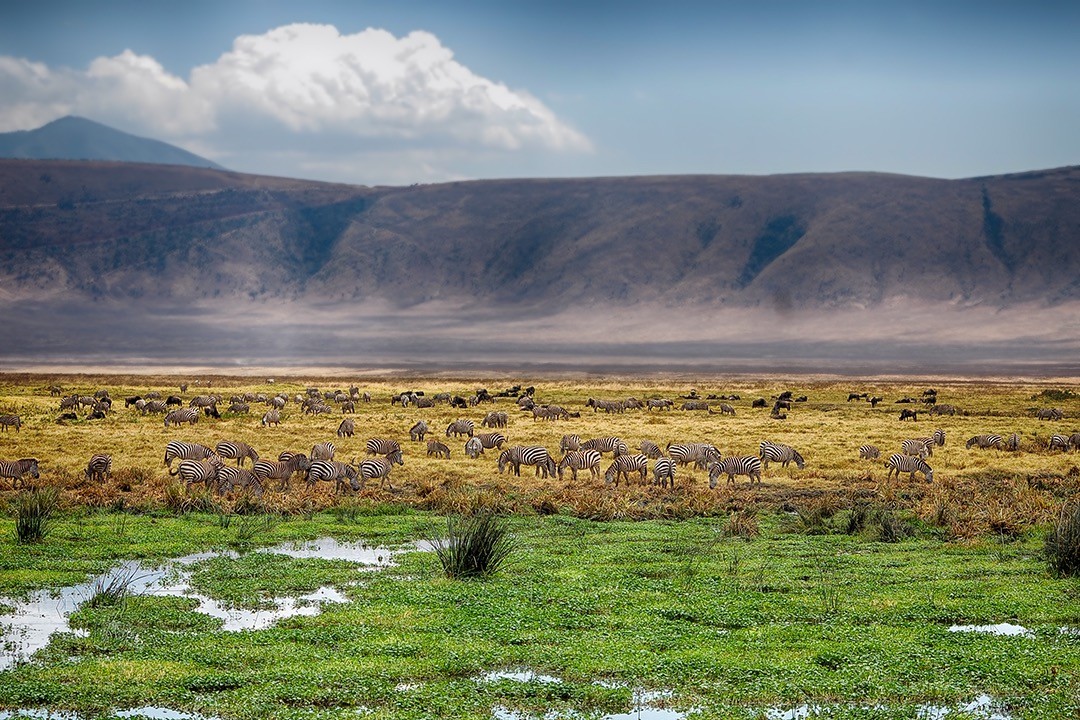 Atlas & Boots Consider the rule of thirds, particularly for wider shots
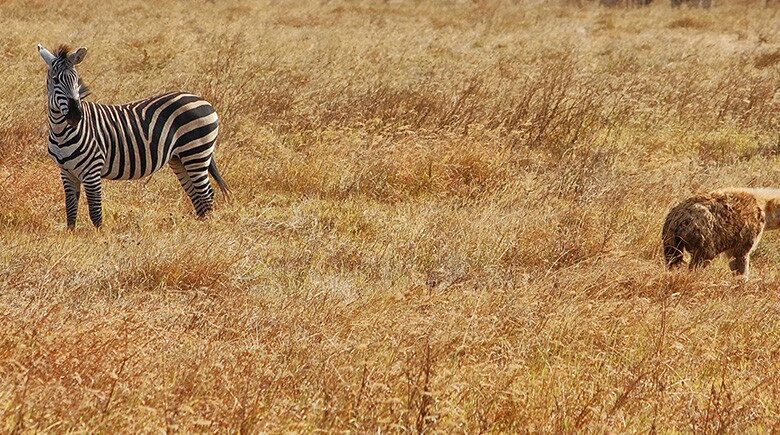
Panning blur
This is a difficult technique to master but can produce some fantastic shots. Switch to aperture mode and select the highest f-stop number (f/22 or higher). Set the ISO to 100 and use continuous shooting mode (or burst mode) to rapidly take multiple photos.
The trick is to pan at the same speed as the moving animal, the aim being to take shots where the background is blurred but the subject is clear, further accenting their movement. Just be warned: this takes a lot of practice and can produce frustrating results in the mean time!
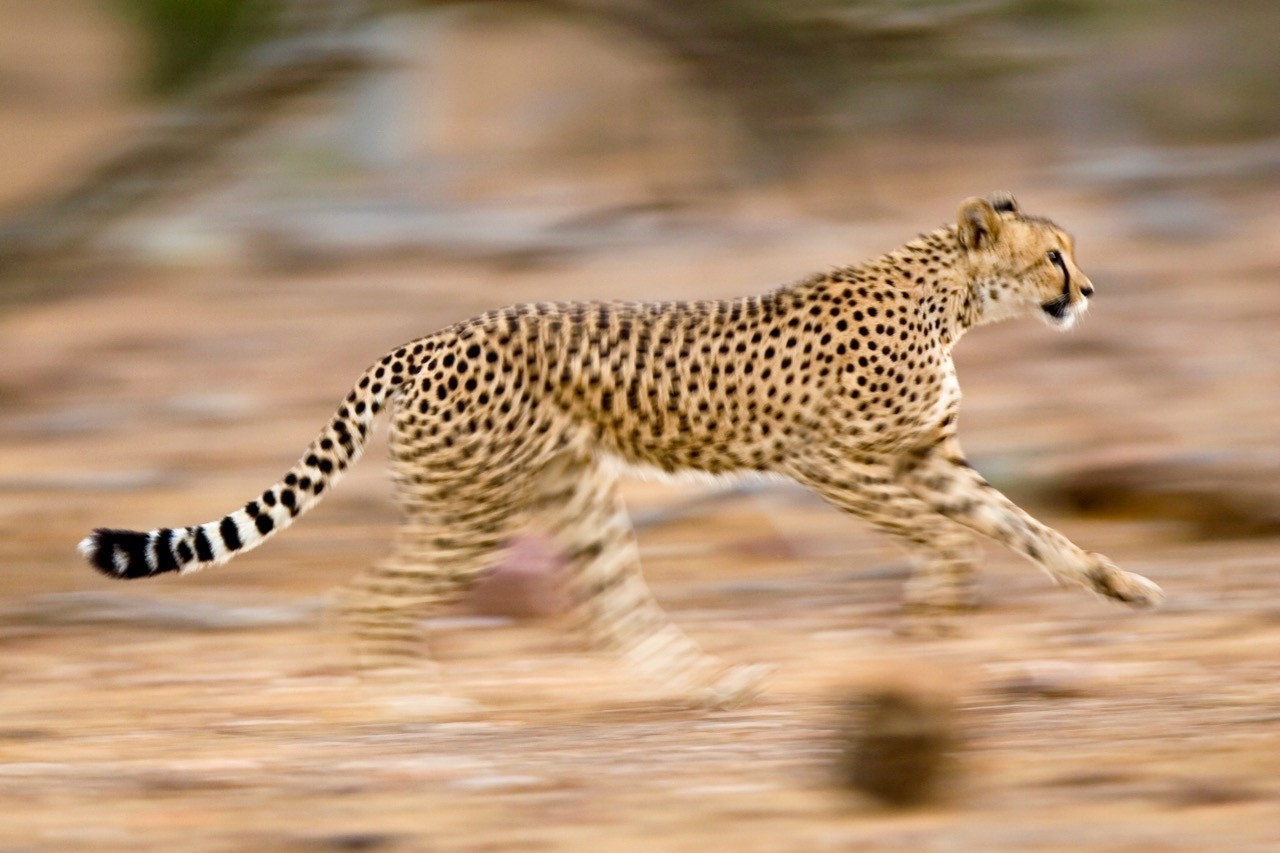 Dreamstime Panning blur: a difficult technique to master
Ultimately, the most important safari photography tip is to remain patient. Wild animals are always going to do what they want to do. Unfortunately, you can’t ask a wild animal to look at the camera, do something cute, or stand in better light.
The only way to get the shot is to be in the right place, over and over again, waiting patiently until the time comes. You have to be there, ready, so when they decide to look cute or do something interesting, you can take the shot.
It takes a long time to capture good wildlife shots and even longer to take great ones – I’m still waiting.
But it’s never wasted time.
Lead image: Atlas & Boots
.